
Engine Basics: How Does an Oil Filter Work?
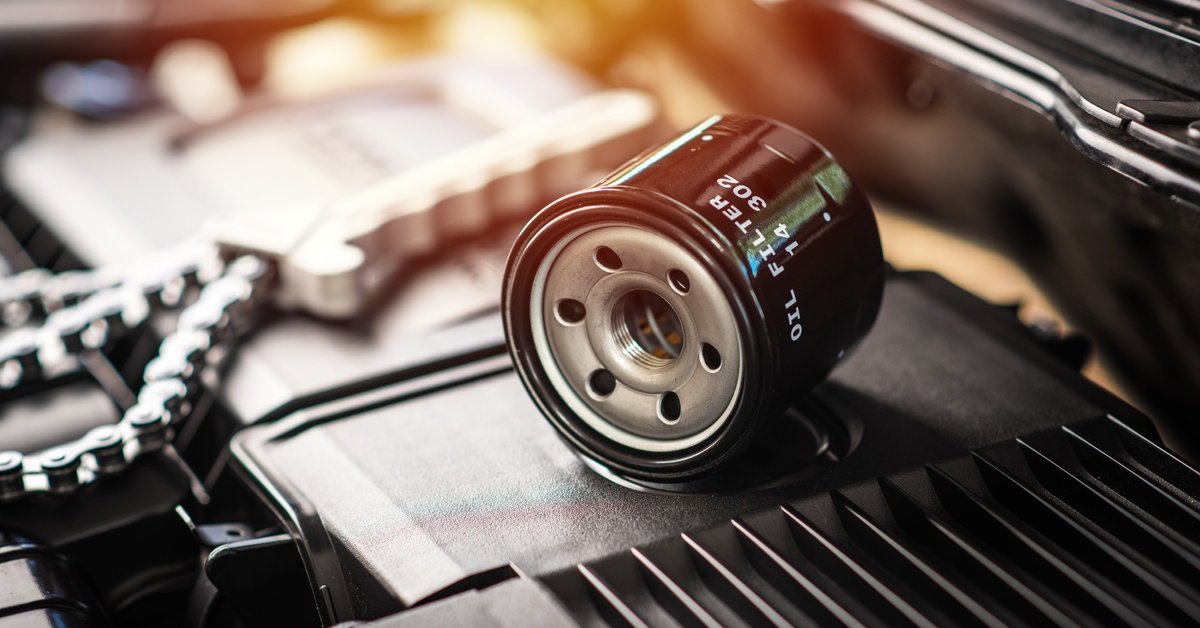
Keeping a vehicle’s engine in good condition is the first step toward better performance and longevity. One of the most common components affecting these gains is the oil filter. But what does it do, and why is it so important?
Learning about engine basics, such as how an oil filter works, is a great way to save money on repairs. But what’s the best approach to replacing one? Many of us find ourselves asking this question. This guide will break down the basics of oil filters, their purpose, and how to perform a DIY replacement. With this information, it should be easy to keep any engine running as it should.
What Is the Purpose of an Oil Filter?
Oil filters serve a straightforward yet critical role in vehicle maintenance. Dirty oil can leave engines prone to wear and tear without regular maintenance or a functioning oil filter, potentially increasing repair costs and reducing efficiency.
Here’s a closer look at their primary purposes.
1. Engine Protection
The engine operates under high temperatures and pressure, with moving components constantly in action. As oil lubricates these parts, it picks up dirt, debris, and contaminants. The oil filter removes these particles, allowing clean oil to protect the engine and prevent damage.
2. Maintaining Oil Life
Regular oil changes are crucial, but having an effective oil filter between services extends the life of motor oil, helping maintain necessary lubrication over time.
3. Improving Engine Efficiency
Clean oil circulating through the engine reduces friction and keeps engine components functioning optimally. An old, clogged oil filter reduces oil flow, forcing the engine to work harder and use more fuel.
4. Environmental Benefits
The best part of a properly functioning oil filter is its contribution to environmental conservation. By reducing the number of particles and emissions released, the vehicle becomes cleaner and more eco-friendly.
Where Is the Oil Filter Located?
Finding the right oil filter can sometimes be a challenge, especially for those new to DIY vehicle maintenance. However, locating it is relatively straightforward with these tips.
Consult the Owner’s Manual
The simplest way to locate the oil filter is to refer to the vehicle’s owner’s manual. Often, manufacturers include diagrams and step-by-step instructions.
Look Near the Oil Pan
Typically, the oil filter is near the oil pan, which is the reservoir for the engine’s oil. Often, it is most accessible from underneath the vehicle.
Search Along the Engine Block
Alternatively, the oil filter could be mounted on top or attached to the side of the engine block in some vehicles, making it more accessible.
Ask an Expert
Don’t hesitate to ask a mechanic or reference a trusted automotive forum online if you’re unsure.
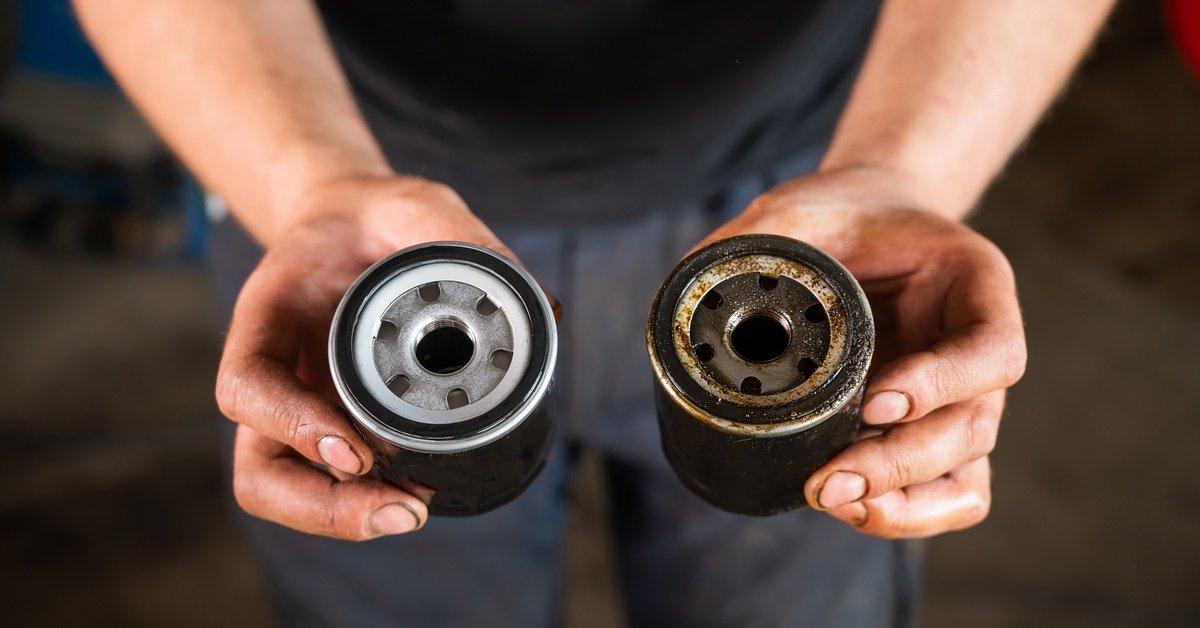
Signs the Vehicle Needs a New Oil Filter
An oil filter doesn’t last forever. Here are some telltale signs that it’s time for a replacement:
A clogged oil filter restricts oil flow, which can lead to overheating, reduced power, and increased fuel consumption.
If you hear grinding or metallic sounds, a dirty oil filter may not be cleaning out metal debris properly, causing wear on engine components.
A clogged or failing filter may reduce oil pressure, triggering the dashboard’s oil warning light.
Check whether the oil appears darker on the dipstick than usual or has visible contaminants. If so, it may be a sign the oil filter isn’t working as it should.
It’s best to promptly replace both the oil and the filter if the car has gone longer than the recommended interval between oil changes.
Be sure to install the filter correctly to avoid unwanted damage to the engine and its components.
Types of Oil Filters
Different vehicles have different needs, so knowing which oil filter best suits the car is vital. The following are the different types to consider.
Mechanical Oil Filters
These filters use various filtering media, such as pleated paper or cardboard, to trap contaminants. They are the most common type and are cost-effective.
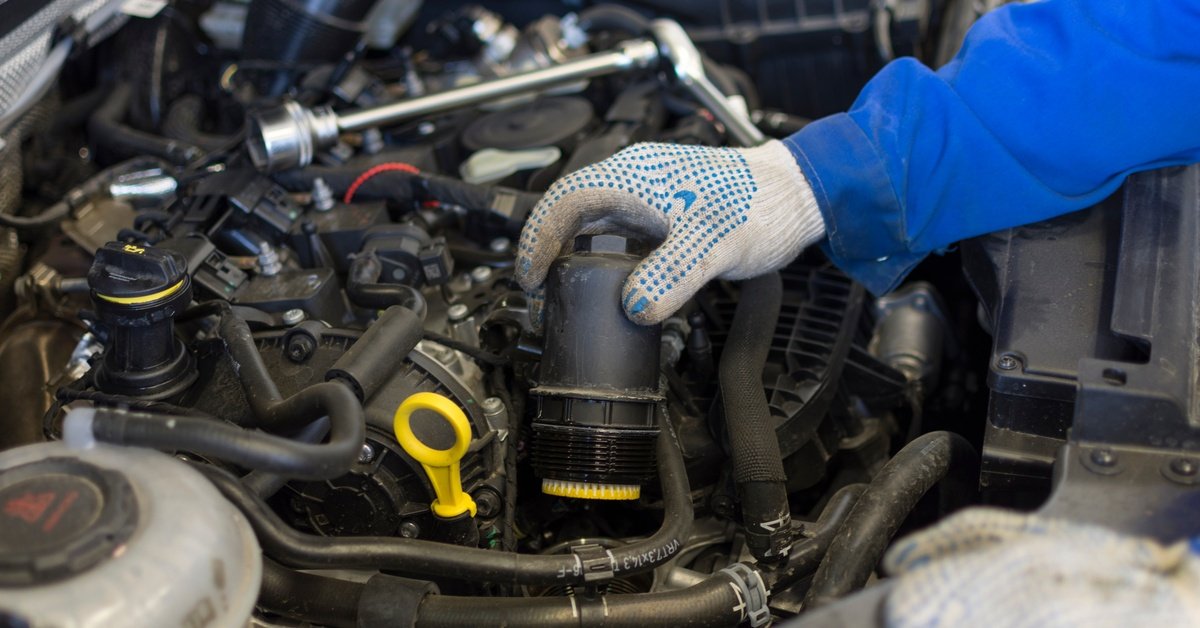
Cartridge Oil Filters
Cartridge filters are easy to install, environmentally friendly, and feature a straightforward design. Many modern vehicles use them.
Spin-On Oil Filters
These filters consist of a cartridge housed within a metal casing, making them quick to screw on and off when replacing.
Magnetic Oil Filters
These advanced filters use magnets to remove metallic contaminants from the oil, offering additional protection for engine components.
High-Performance Oil Filters
These oil filters are designed for vehicles that push their engines to the limit and are constructed to handle higher pressures and efficiently clean the oil in extreme conditions.
Step-by-Step Guide to Changing the Oil Filter
Changing the oil filter may seem intimidating, but it’s a task many car owners can do right at home. Follow these steps carefully.
Required Tools
A new oil filter
Wrench or oil filter removal tool
Oil pan
Fresh engine oil
Protective gloves and goggles
Step 1. Locate the Oil Filter
Refer to the owner’s manual or check around the oil pan or engine block to locate the oil filter.
Step 2. Drain the Oil
Place an oil pan beneath the car, carefully unscrew the drain plug, and allow the old oil to drain completely.
Step 3. Remove the Old Filter
Using a wrench or filter removal tool, unscrew and gently remove the old oil filter. Be cautious, as it may still contain old oil.
Step 4. Seal the New Filter
Put a dab of fresh oil on the rubber gasket’s edge to create a proper seal before putting in the new filter.
Step 5. Install the New Filter
Put the new oil filter into place, ensuring it fits snugly. Try not to make it too tight, as doing so can damage the gasket.
Step 6. Refill the Oil
Replace the drain plug and fill the engine with fresh oil according to the manufacturer’s recommendations.
Step 7. Check for Leaks
Start the engine and inspect the oil filter and drain plug for any leaks. Tighten if necessary. Never drive with a leaky filter, as doing so could compromise the engine.
Keep the Engine Running Smoothly
With these engine basics, it’s easy to see how an oil filter works and the part ongoing monitoring and maintenance play in the vehicle’s performance and longevity. No matter how much driving we do, regularly maintaining the oil filter protects the engine, improves efficiency, and saves money in the long run.
Having the right parts on hand can make maintenance much easier, whether doing a DIY job or working in a shop. 1972oil has your every automotive need covered. Invest in our oil filters, and enjoy peace of mind with a well-protected engine.